 Gridwright
Start for $1
Godot 4 Tileset Tutorial: TileMapLayer, Collision, Terrains
Set up a Godot 4 TileSet from one PNG: atlas, tile size, collision, terrains, animated tiles and custom data on a TileMapLayer, with the menus named.
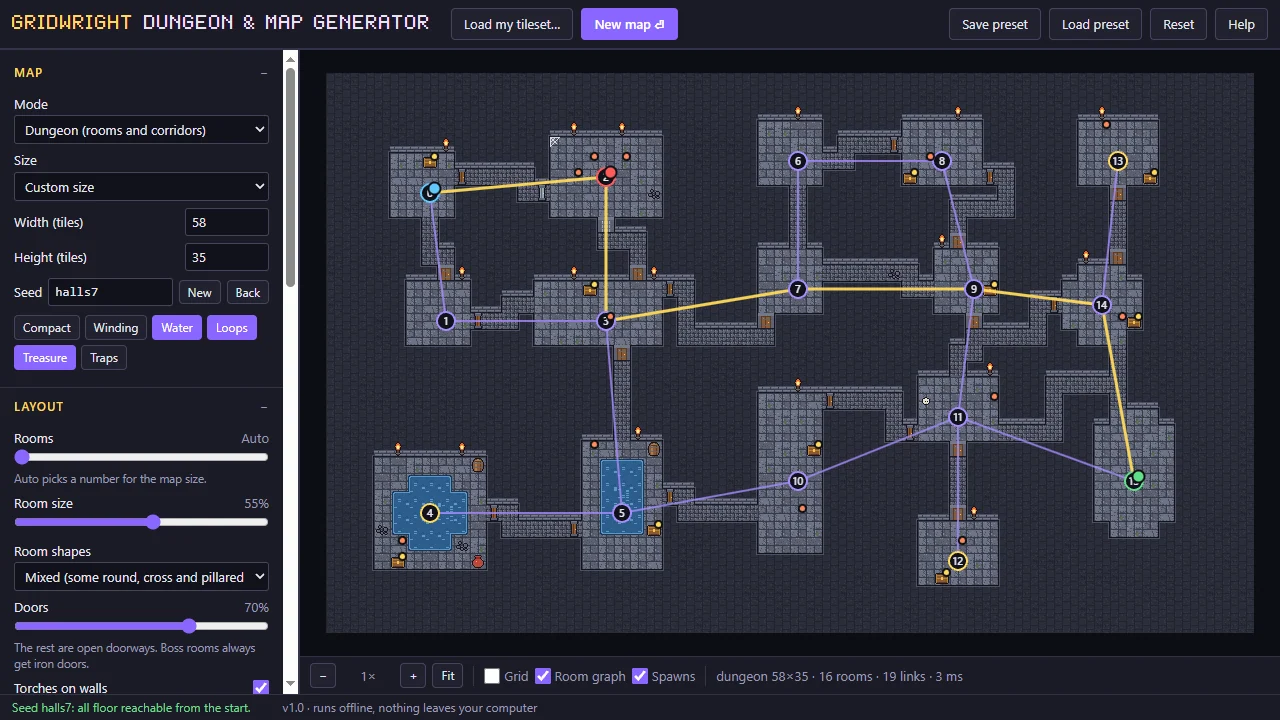
You have a tileset PNG and an empty scene. Godot 4 shows a TileSet panel full of tabs, modes and dropdowns, and the tutorial you found was written for the old TileMap node. Two hours later the player still falls through the floor, the water does not move and the edges of the grass show thin lines when the camera pans.
This tutorial goes through a Godot 4 TileSet in the order you need it: the atlas, collision, terrains, animated tiles and custom data, all on the TileMapLayer node that replaced TileMap in Godot 4.3. At the end there is a shortcut for the slowest parts, and you can try it here while you read: the free demo of the Dungeon & Map Generator runs on its page, with no account.
TileMap or TileMapLayer?
Since Godot 4.3 the old TileMap node is deprecated. Each layer of your level is now its own TileMapLayer node: one for the ground, one for walls, one for decoration. They can all share one TileSet, so you set up collision and terrains once and every layer uses them.
So for a new project: add a Node2D as the level, and put TileMapLayer nodes under it. If you open an older project, Godot offers to split a TileMap into TileMapLayer nodes for you.
Step 1: The TileSet and the atlas
- Select your TileMapLayer, and in the Inspector set Tile Set to New TileSet.
- Click the TileSet and set Tile Size. Use the size your art is drawn at, for example 16x16.
- Save the TileSet as a
.tresfile (right-click it in the Inspector, Save As). Now every other TileMapLayer can load the same file. - Open the TileSet tab in the bottom panel and drag your PNG into the list on its left. Godot offers to create tiles from the non-transparent parts of the picture. Say yes.
If your sheet has a gap between tiles or a border round the edge, set Separation and Margins in the atlas settings before the tiles are made, or every tile will be cut a few pixels off.
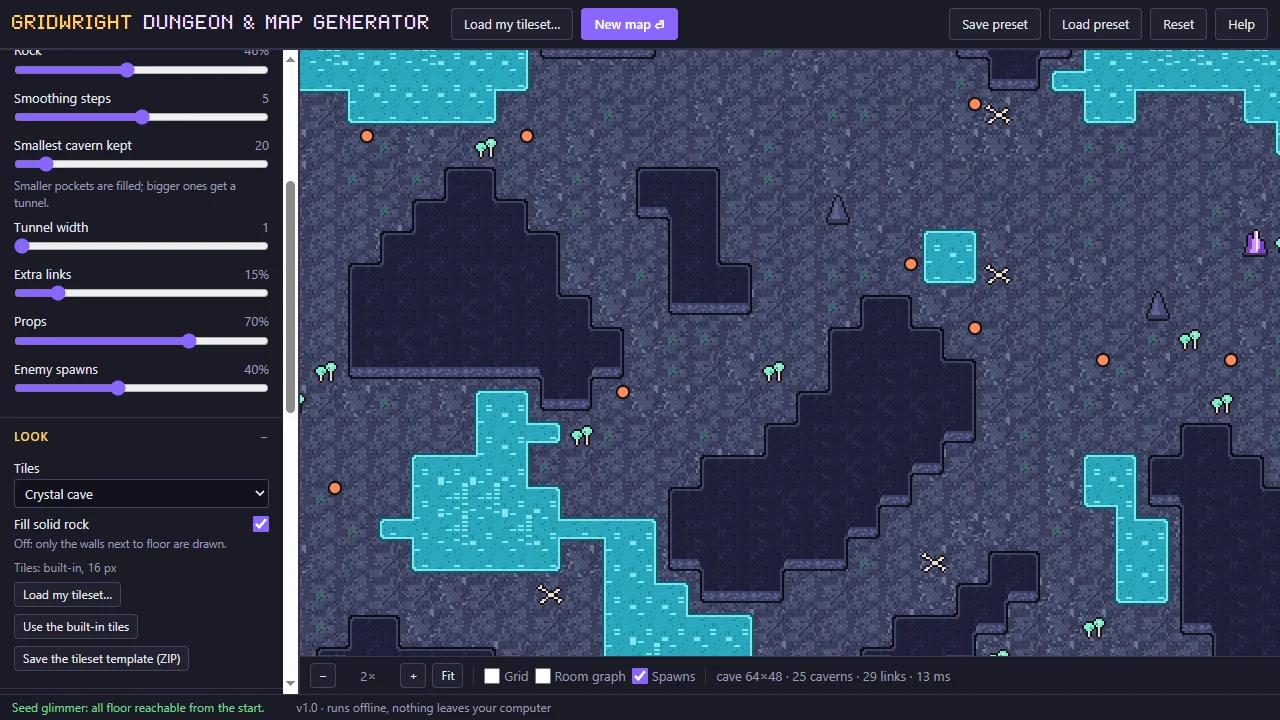
For pixel art, open Project Settings, go to Rendering > Textures and set Default Texture Filter to Nearest. Without it every tile is drawn soft. Leave Use Texture Padding switched on in the atlas: it is what stops the thin lines between tiles when the camera moves.
Step 2: Collision on walls and cliffs
Collision lives in the TileSet, not on the node:
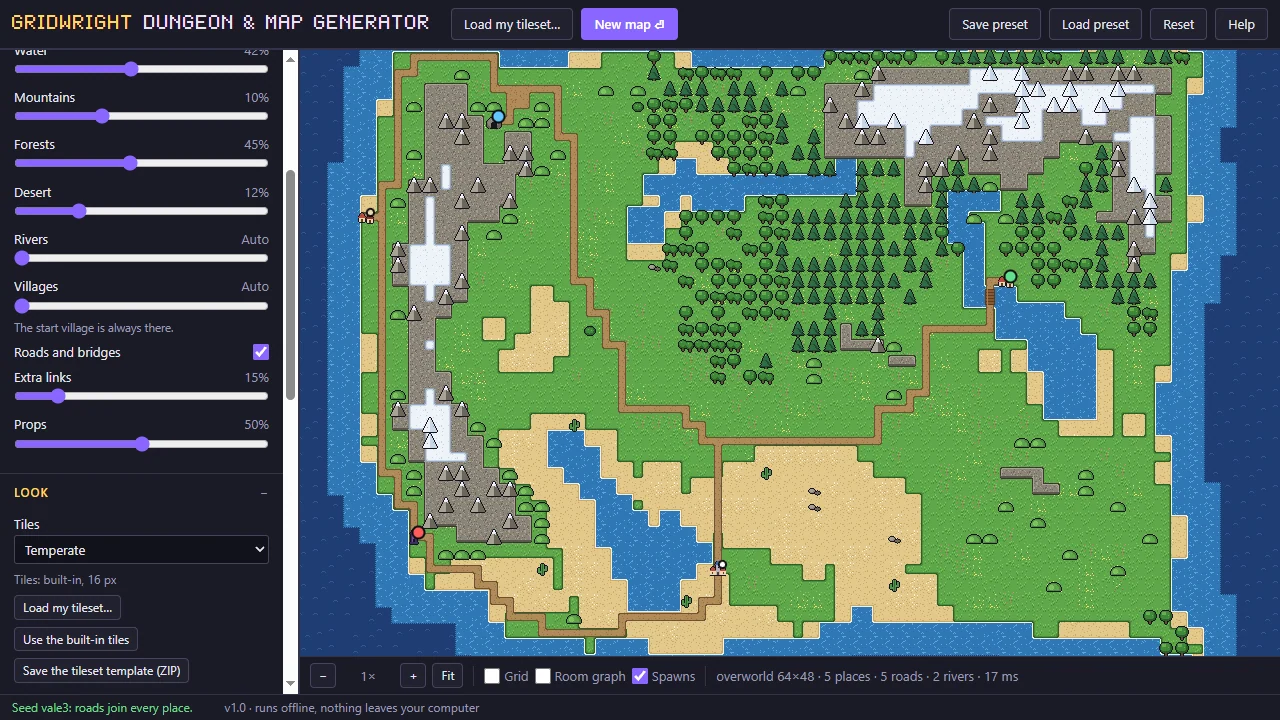
- Click the TileSet in the Inspector, open Physics Layers and press Add Element. Set its collision layer and mask the way your player expects.
- In the bottom TileSet tab, switch to Paint mode and pick Physics Layer 0 from the property list.
- Click every tile that should block. Each click gives the tile a full square. For a slope or a half wall, edit the polygon in the box above the tiles.
Now any TileMapLayer with this TileSet collides by itself, and a CharacterBody2D stops at the walls. If it does not, check that the body's collision mask includes the layer you set in step 1.
Step 3: Terrains, so edges draw themselves
Painting edge tiles one by one is slow and easy to get wrong. A terrain set lets Godot choose the right edge tile from the neighbours:
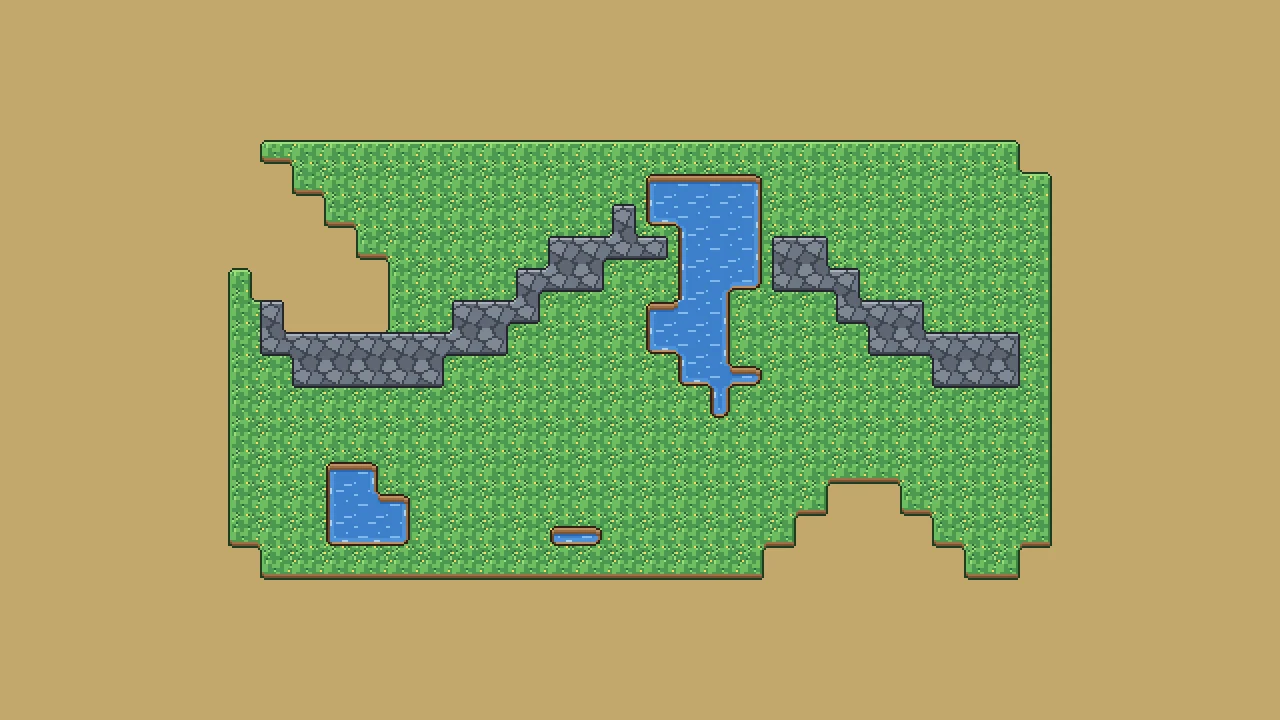
- In the TileSet inspector, open Terrain Sets, add one and pick its mode: Match Corners and Sides for natural ground (it needs 47 tiles), or Match Sides for paths and fences (16 tiles).
- Add a terrain to the set, with a name and a colour.
- In Paint mode, choose Terrains and paint the peering bits on every tile: the parts of its edge that belong to the terrain.
- To paint the level, select the TileMapLayer, open the TileMap tab in the bottom panel, go to Terrains, pick the terrain and draw.
Step 3 is where most of the time goes: a 47-tile terrain has up to 8 bits on every tile. We wrote a whole guide on it, How to Make Autotiles in Godot 4. The short version: the Autotile Builder makes the 47 tiles from one small template and checks them for seams, and in Gridwright it writes the TileSet with every peering bit already set.
Every Gridwright asset pack, made to fit together, and all 31 tools for the fiddly work, with every new release, for $17 a month. Try it in your own game first: 3 days for $1, cancel any time.
Start for $1Step 4: Animated water, lava and torches
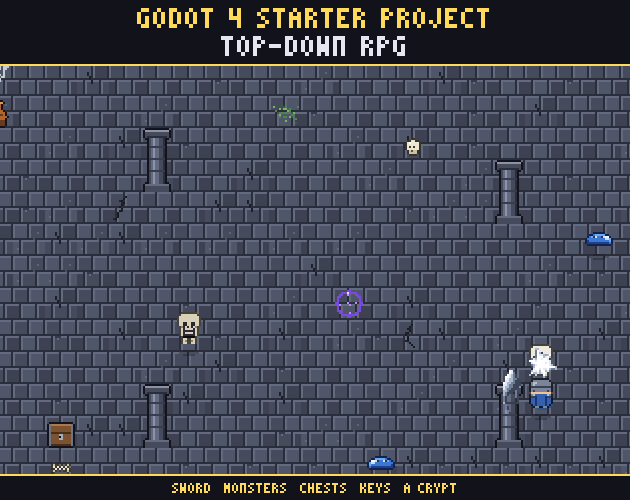
An animated tile is one tile whose frames sit side by side in the atlas.
- In the TileSet tab, switch to Select mode and click the first frame of the tile.
- In its properties, open Animation. Set Columns to how many frames are in one row, and Frames Count to the number of frames.
- Give each frame a Duration, or set the animation Speed for all of them.
The frames must be free cells in the atlas, so if Godot already made tiles there, delete those first. Every cell painted with the tile animates in step, which is what you want for a lake.
Step 5: Custom data for game rules
Custom data lets a tile carry a value your code reads, such as "this floor is slippery" or "this grass slows the player".
- In the TileSet inspector, open Custom Data Layers, press Add Element, and give it a name and a type, for example
speedas a float. - In Paint mode, pick that layer and paint the value onto the tiles.
- In code, read it from the cell under the player:
var cell = ground.local_to_map(ground.to_local(global_position))
var data = ground.get_cell_tile_data(cell)
if data:
    speed = base_speed * data.get_custom_data("speed")
The same Paint mode sets Navigation Layers for pathfinding and Occlusion Layers for 2D light and shadow.
Step 6: Layers and depth
Stack your TileMapLayer nodes in the scene tree: ground first, then paths, then walls and objects. A node lower in the tree draws on top.
For a top-down game where the player walks behind trees and in front of them, turn on Y Sort Enabled on the level node, the walls layer and the player. Then set each tall tile's Y Sort Origin in the TileSet, at its base. Without the origin, Godot sorts by the tile's middle and the player's head pops in front of a tree trunk.
The fast way: a level that loads as it is
Everything above is the setup for one TileSet. Then you still have to draw the level. The Dungeon & Map Generator makes a dungeon from a seed in one key press: rooms, corridors, doors, a start, an exit and a boss room, drawn as pixel-art tiles.
The free demo makes dungeons up to 64x64 and saves them as PNG. With Gridwright, the full tool adds caves and overworlds, maps up to 256x256 and your own tileset. It also saves the map as a Godot 4 scene with its TileSet, physics layers and spawn markers already set, or as a Tiled map with collision. You open the scene, and the player can walk the level straight away.
Common problems and their fixes
Thin lines between tiles when the camera moves. Set the default texture filter to Nearest, keep Use Texture Padding on in the atlas, and use whole-number camera zoom.
Tiles are cut off or shifted. The atlas Margins or Separation are wrong, or the Tile Size does not match the art. Fix them, then let Godot make the tiles again.
The player walks through walls. The tile has no polygon on the physics layer, or the player's collision mask does not include that layer.
Terrain painting picks the wrong tile. The terrain set's mode does not match the tile count, or one tile has a peering bit set wrong.
Try it on your own game
Open the Dungeon & Map Generator demo, press Enter a few times and watch a level appear. When you want it as a Godot scene with collision, caves and overworlds, and terrains that paint themselves, start Gridwright for 3 days for $1. You get all 32 tools and 132 asset packs on the same 16 px grid.
Every Gridwright asset pack, made to fit together, and all 31 tools for the fiddly work, with every new release, for $17 a month. Try it in your own game first: 3 days for $1, cancel any time.
Start for $1